Summary:
You’ve waited months for this. The weather’s warming up, and you’re ready to get that pool open. But here’s the thing—how you open your pool in spring determines whether you’re swimming by Memorial Day or still fighting cloudy water in June. Winter takes a toll on equipment. Chemicals need precise balancing. And one shortcut now can mean a green pool later. This checklist walks you through what actually matters when opening your Nassau County pool—the inspections that catch expensive problems early, the chemical sequence that prevents weeks of troubleshooting, and the timing that sets you up for a clean summer. Let’s start with what’s hiding under that cover.
Pre-Opening Pool Equipment Inspection Checklist
Before you reconnect anything or flip a single switch, you need to know what winter did to your equipment. Pumps, filters, and heaters sitting idle for months can develop problems that won’t show up until you try to run them—and by then, you’re looking at repairs instead of prevention.
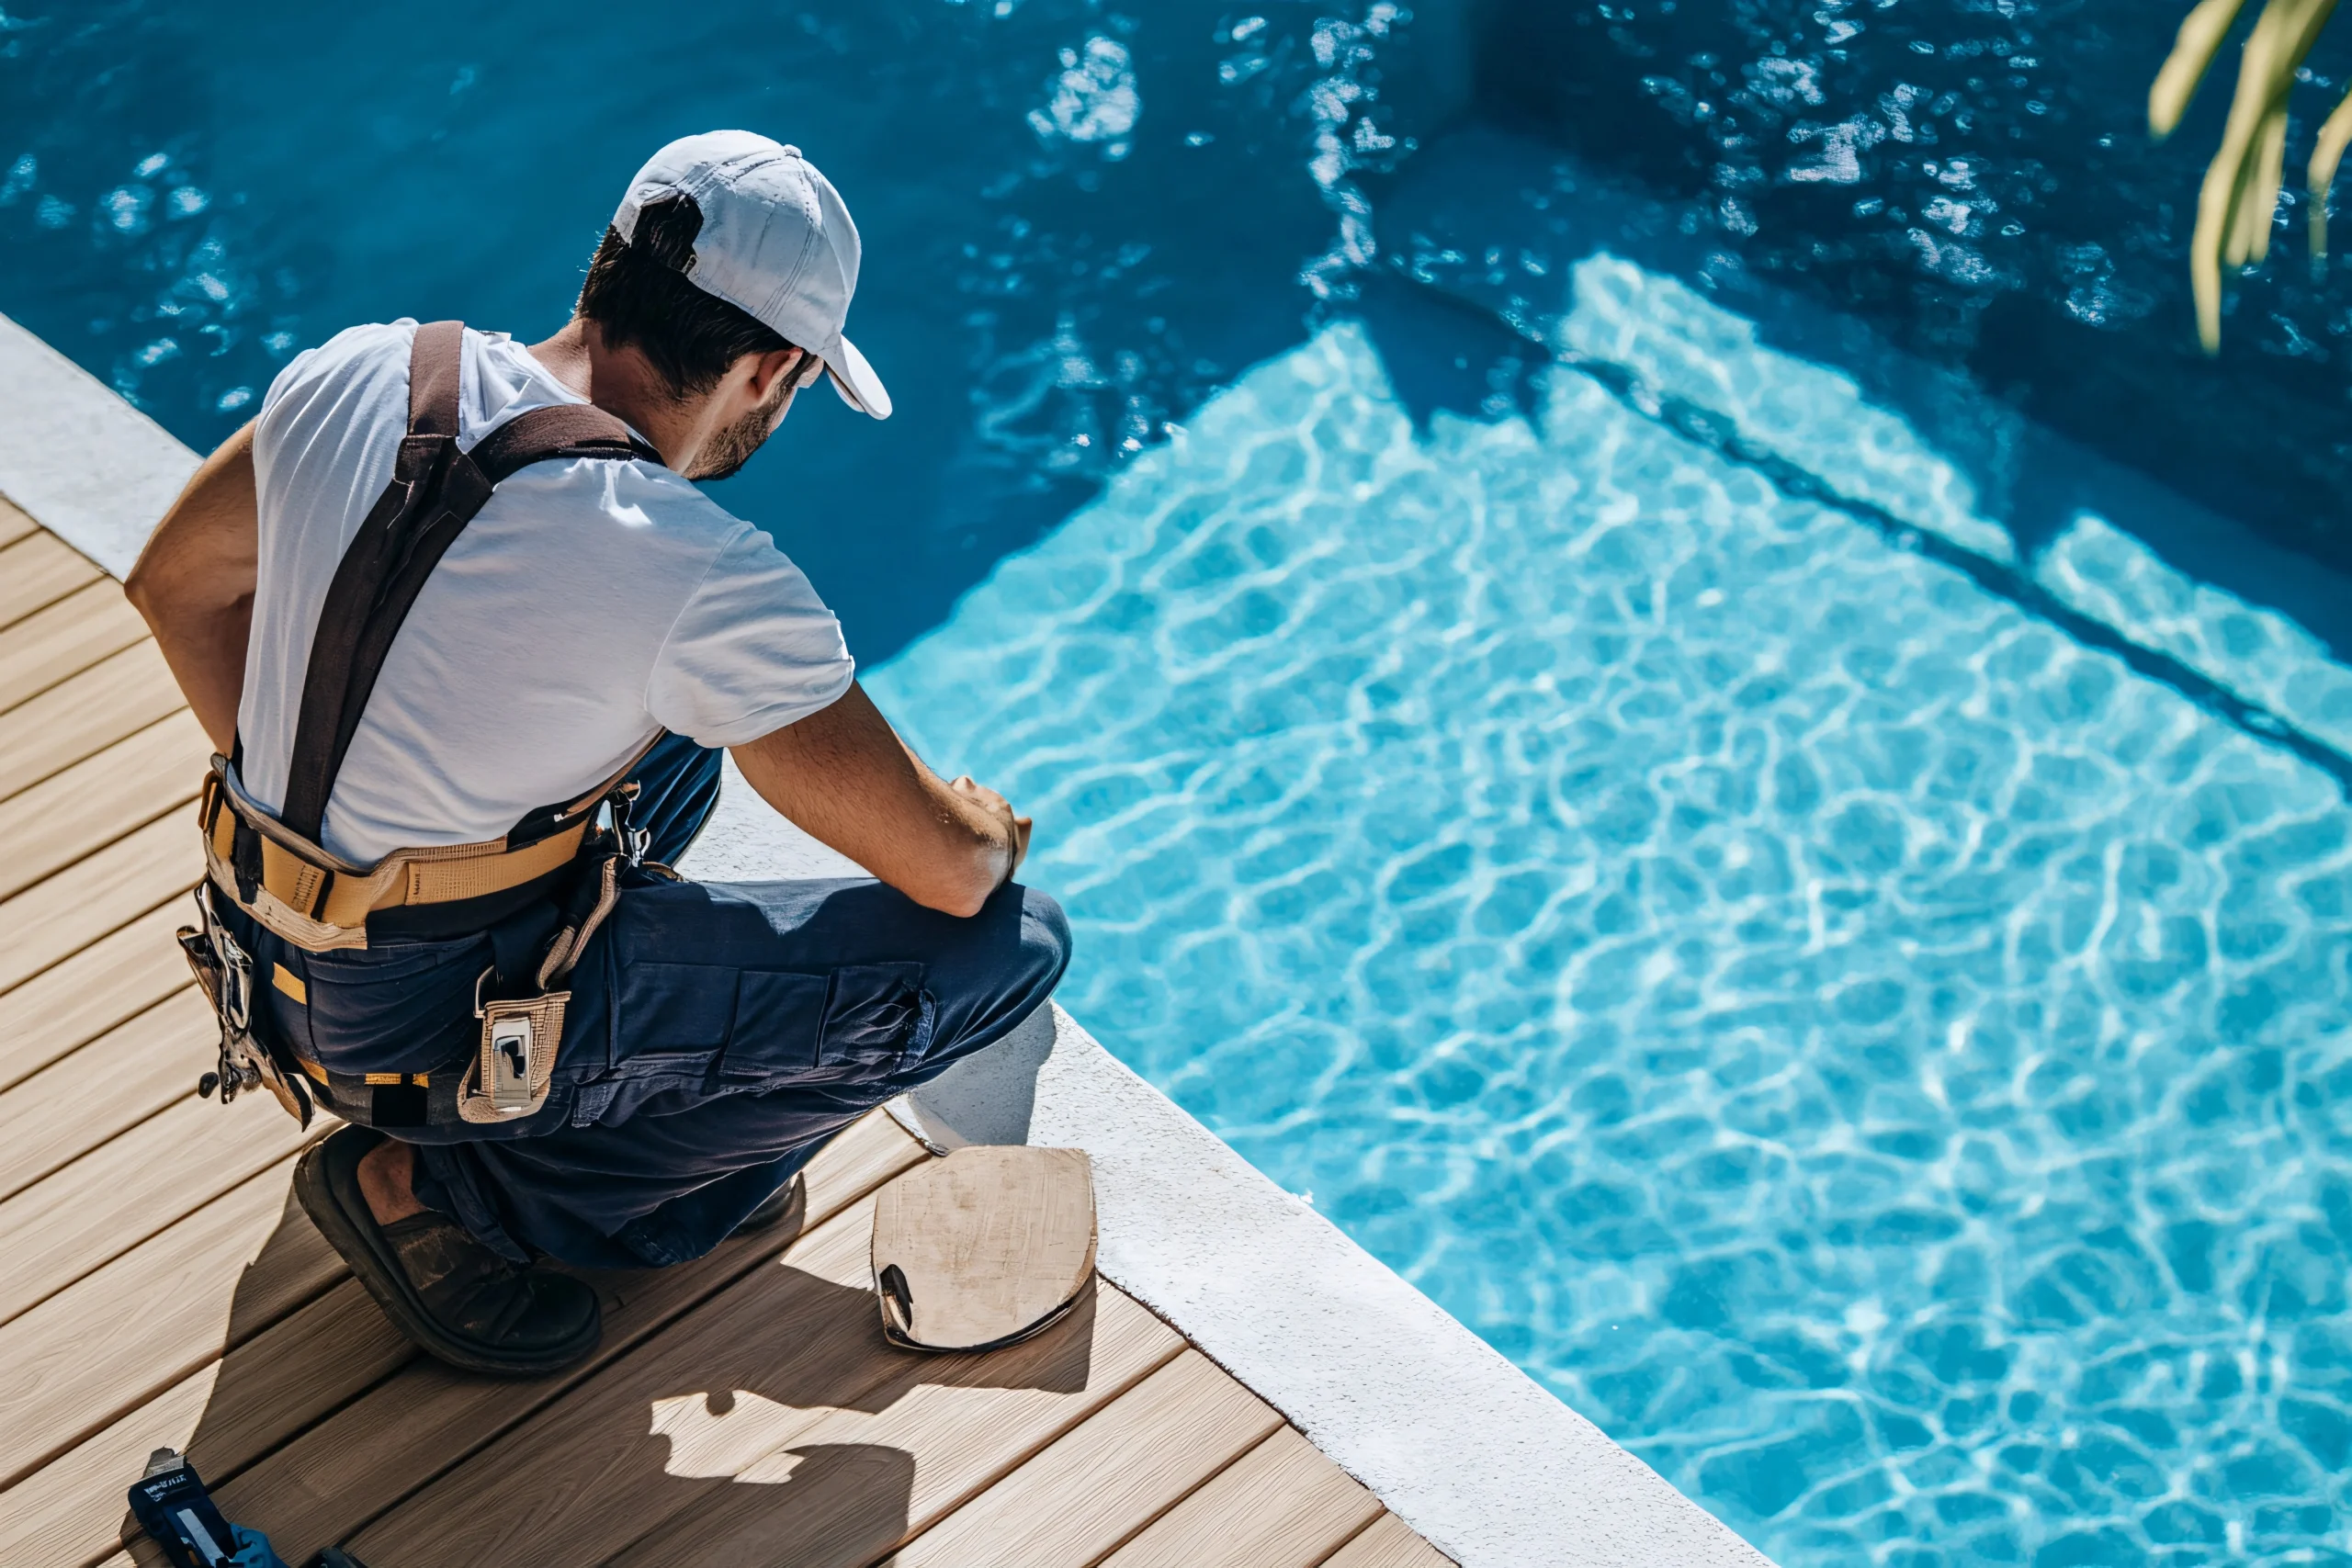
Start with a visual walk-through of everything. Look for cracks in the pump housing, rust on metal components, or any signs of moisture where it shouldn’t be. Check hoses and connections for brittleness or splitting. Winter’s freeze-thaw cycles are tough on Nassau County pools, and even properly winterized systems can develop issues.
The goal here isn’t to become a pool technician. It’s to catch the obvious stuff before it becomes expensive stuff. A small crack in a pipe fitting is a quick fix now. That same crack after you’ve filled the pool and started the pump? That’s a flooded equipment pad and an emergency service call.
Pool Cover Removal and Storage
Your cover has been protecting the pool all winter, collecting leaves, dirt, and probably some standing water. How you remove it determines whether all that debris ends up in your clean pool or safely disposed of elsewhere. Do this wrong, and you’re starting the season with a mess that takes days to clean up.
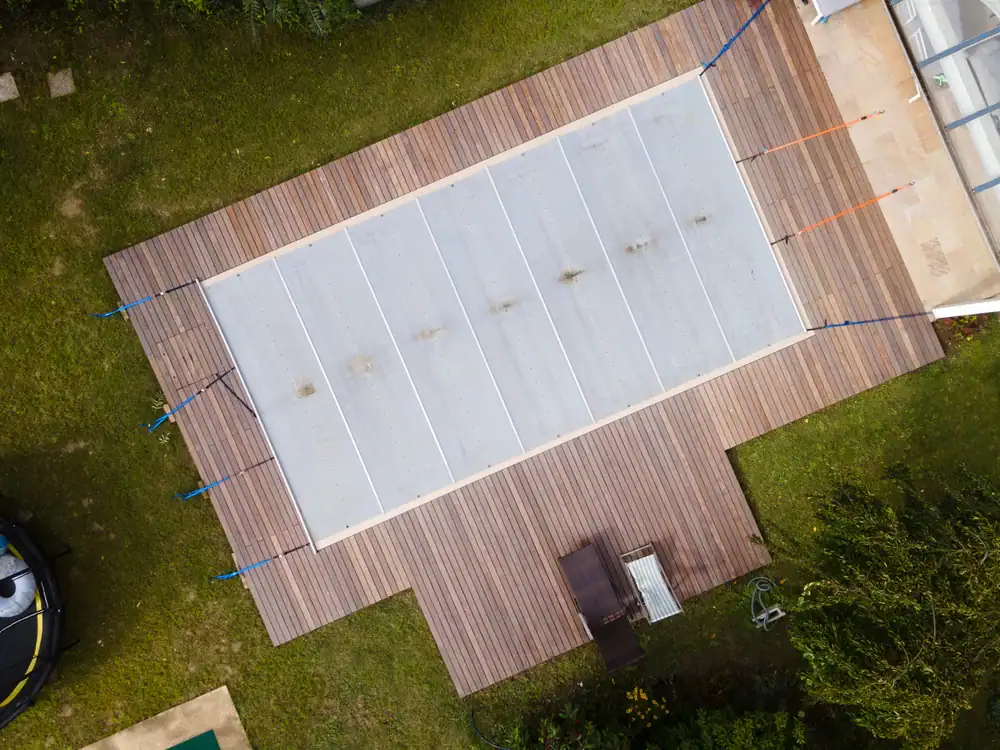
Start by removing debris from the top of the cover while it’s still in place. Use a leaf blower, soft broom, or pool brush to clear off leaves and dirt. For solid covers, pump off any standing water using a cover pump—don’t try to drag a water-filled cover off the pool. That water weighs hundreds of pounds, and it’s going straight into your pool if you’re not careful.
For mesh safety covers, remove the springs from the anchors using the tool that came with your cover. Work your way around the pool, taking springs off and folding the cover in accordion-style sections as you go. Don’t drag the cover across the deck—you’ll damage it and possibly tear it on anchor points or rough surfaces.
Once the cover is off, clean it before storing it. Lay it out on a clean area of your lawn or driveway, spray it down with a hose, and scrub off any stubborn dirt or stains with a mild detergent. Let it dry completely before folding and storing. A damp cover stored in a bag or container will develop mildew and won’t last as long. Store it somewhere rodents can’t get to it—a chewed cover is an expensive replacement.
This step matters more than most people think. A cover that lasts 10 years instead of 5 because you took care of it? That’s $500-$1,500 you didn’t have to spend. And starting the season with a pool full of leaves and dirty water from a rushed cover removal adds days to your opening timeline.
Checking Pumps and Filters for Winter Damage
Your pump is the heart of the system, and it doesn’t respond well to being ignored for five months. Before you prime it and start it up, inspect the pump housing for any cracks or damage. Cold weather can cause plastic components to become brittle, and even a hairline crack can turn into a major leak once water pressure hits.
Check the pump basket and lid. Make sure the o-ring on the lid isn’t dried out, cracked, or missing. A bad o-ring means the pump won’t hold prime, which means it’s sucking air instead of moving water. That leads to overheating and potential motor damage. If the o-ring looks questionable, replace it now. They’re cheap. New pump motors aren’t.
Look at your filter next. If you have a sand or DE filter, check the pressure gauge and inspect the tank for any cracks or damage. For cartridge filters, pull the cartridges out and examine them for tears, excessive wear, or areas where the pleats have collapsed. Cartridges that look worn or damaged won’t filter properly, which means you’ll be fighting water clarity issues all season.
Don’t skip the heater if you have one. Check for any debris that might have gotten into the heat exchanger over winter—leaves, twigs, even small animals looking for shelter. Make sure the ignition system is clear and that there’s no visible corrosion on electrical connections. Heaters are expensive to replace, and a quick inspection now can prevent a failure when you actually want to use it.
The filter system needs to be clean before you start circulating water. If you closed the pool properly, your filter should be in decent shape. But if there’s any doubt, now’s the time to backwash a sand filter, clean DE grids, or rinse cartridges. Starting the season with a clean filter means better circulation and clearer water from day one.
Pool Startup Chemicals: What You Need and When to Add Them
Getting your water chemistry right from the start makes the difference between swimming in a week and fighting algae for a month. But here’s what most people get wrong—they treat pool opening like regular maintenance. It’s not. Your water has been sitting under a cover for months, and it needs a specific sequence of chemicals to get back to swimmable.
The order matters more than most people realize. Add chlorine before you balance pH, and you’re wasting it. Shock the pool before your alkalinity is right, and you won’t get the results you’re paying for. This isn’t about being picky. It’s about chemistry actually working the way it’s supposed to.
Test your water first. You can’t fix what you don’t measure. Get a baseline reading on pH, alkalinity, calcium hardness, and chlorine levels. If you’re not confident in test strips, take a sample to a pool supply store for professional testing. Knowing where you’re starting makes it possible to get where you need to go.
Balancing pH and Alkalinity First
Start with total alkalinity. This is your water’s ability to resist pH changes, and it needs to be in range before you do anything else. You’re aiming for 80-120 ppm. If alkalinity is low, add an alkalinity increaser (sodium bicarbonate). If it’s high, you’ll use a pH decreaser (muriatic acid or dry acid) to bring it down.
Why does alkalinity come first? Because it stabilizes pH. If you try to adjust pH without getting alkalinity right first, you’ll be chasing your tail all season. The pH will keep drifting, and you’ll keep adding chemicals without solving the actual problem. Get alkalinity in range, and pH becomes much easier to manage.
Once alkalinity is set, move to pH. Your target is 7.2 to 7.6. This range is where chlorine works most effectively, where water feels comfortable to swimmers, and where you avoid damage to pool surfaces and equipment. If pH is below 7.2, the water is acidic—it’ll corrode metal components and etch plaster. If it’s above 7.6, chlorine loses effectiveness and you risk scaling on surfaces.
Use a pH increaser (soda ash) if pH is too low. Use a pH decreaser if it’s too high. Add chemicals gradually, let them circulate for a few hours, then retest. Don’t dump everything in at once and hope for the best. Water chemistry doesn’t work that way.
Here’s what happens if you skip this step and go straight to chlorine: at a pH of 8.0, your chlorine is only about 30% effective. You could dump in twice the chemicals you need and still not get the sanitizing power you’re paying for. At pH 7.2, that same amount of chlorine is working at nearly full strength. The difference isn’t small. It’s the difference between clear water in three days and cloudy water in two weeks.
Calcium hardness is next. This one’s about protecting your pool surfaces and equipment. Too low, and water becomes aggressive—it’ll pull calcium from plaster, grout, or concrete, causing etching and damage. Too high, and you get scaling and cloudy water. For most pools, you want 200-400 ppm, though the exact target depends on your pool type. Plaster pools generally run higher than vinyl.
Shocking and Sanitizing Your Pool
Now that your water balance is right, it’s time to shock the pool. This is a heavy dose of chlorine designed to kill anything that grew or accumulated over winter—bacteria, algae spores, organic contaminants. Don’t confuse shocking with regular chlorination. Shocking is about hitting the water hard enough to oxidize everything that shouldn’t be there.
For a pool that looks relatively clean, use one pound of shock per 10,000 gallons of water. If you’re seeing any green tint, cloudiness, or algae, increase that. The goal is to raise the chlorine level high enough to do the job—typically 10-12 ppm for a shock treatment. Regular swimming levels are 1-3 ppm, so yes, this is intentionally high.
Add shock in the evening or at dusk. Sunlight breaks down chlorine quickly, especially the unstabilized chlorine in most shock products. If you add it during the day, you’re losing effectiveness before it can work. Add it at night, let it circulate overnight, and you’ll get much better results.
Run your pump continuously for at least 24 hours after shocking. This ensures the chemicals circulate through every part of the pool and filtration system. Don’t shut the pump off overnight to save electricity. You’ll undo the work you just did.
After shocking, you’ll need to add stabilizer (cyanuric acid) if you’re using chlorine tablets for regular maintenance. Stabilizer protects chlorine from being broken down by sunlight, making your sanitizer last longer. The target range is 30-50 ppm. Too little, and your chlorine burns off quickly. Too much, and it actually reduces chlorine’s effectiveness.
Wait until chlorine levels drop back to 3 ppm or below before adding algaecide. If you add algaecide while chlorine is still high from shocking, the two can react and reduce effectiveness. Once chlorine is in normal range, add algaecide according to the product directions. This provides an extra layer of protection against algae growth as the season starts.
Don’t swim until chlorine levels are back in the safe range of 1-3 ppm. High chlorine can irritate skin and eyes, and it’s not worth the risk. Test the water, confirm the levels are right, and then enjoy the pool you just spent all this time getting ready.
Getting Your Nassau County Pool Ready for Summer
Opening a pool the right way isn’t complicated, but it does require attention to detail and the right sequence. Inspect equipment before you start anything. Balance your water chemistry in the correct order. Shock the pool properly and give it time to circulate. These steps prevent the majority of problems that turn pool opening into a month-long project.
If you’re confident in your ability to handle the inspection and chemistry, you can absolutely do this yourself. But if you’re looking at your equipment and not sure what you’re seeing, or if the idea of balancing five different chemical parameters sounds overwhelming, that’s what we’re here for. Our pool opening service handles everything—equipment inspection, cover removal, chemical balancing, system startup—and we catch problems before they become expensive.
We serve Nassau County and Suffolk County with pool opening services that get it done right the first time. Whether you need a complete opening or just want us to inspect your equipment and verify your chemistry, reach out. Your pool should be ready when the weather is, not three weeks later when you’ve finally figured out why the water won’t clear.
Questions about your pool?
Tell us what you need and a JAS Aquatics pool pro on Long Island will get back to you. Prefer to talk now? Call 631-239-8031.