Summary:
September arrives, the nights get cooler, and suddenly the pool is more work than fun. You know it needs to be closed before the first hard freeze — but if you’ve ever wondered whether you’re doing it right, you’re not alone. Above-ground pool closing has more moving parts than most people realize, and the consequences of missing a step don’t show up until April or May, when the damage is already done. This checklist covers everything that needs to happen before winter hits Long Island and Queens County, and why each step actually matters.
What Above-Ground Pool Closing Actually Involves
The most common misconception we hear from Long Island and Queens County pool owners is that closing an above-ground pool means lowering the water and laying a cover over it. That’s a starting point, not a process. A proper closing involves balancing your water chemistry, winterizing every piece of equipment, blowing out the plumbing lines, protecting the skimmer, installing an air pillow, and securing a dedicated winter cover — in the right order.
Each of those steps exists for a reason. Water expands by 9 to 10 percent when it freezes. That’s enough force to crack a pump housing, split a filter tank, fracture a skimmer body, or destroy a heater’s heat exchanger. A closing done right eliminates every pocket of standing water before that freeze happens. A closing done halfway leaves something behind to break.
Step-by-Step: How to Close Your Above-Ground Pool Before Winter
The process starts about a week before your target closing date. You want to stop adding stabilizer to the water and run the pump normally while you work through the chemical balance. Test your water and adjust pH to somewhere between 7.2 and 7.6, bring alkalinity up to around 100 ppm, and make sure calcium hardness is near 200 ppm. Imbalanced water sitting under a cover for five or six months can stain your liner and corrode metal components in ways that aren’t reversible. Get the chemistry right before you add anything else.
On closing day, shock the pool and add a winterizing algaecide. The algaecide matters more than most people think. Without it, algae can establish itself under the cover during the winter months — feeding on whatever warmth and nutrients are still in the water — and you’ll open to a green pool in spring that takes days to clear up.
Next, lower the water level. For above-ground pools, you want to bring it down just below the skimmer opening — not all the way down, and certainly not empty. Fully draining an above-ground pool is one of the most damaging things you can do to it. Without water weight supporting the walls from the inside, the structure can buckle. The liner can dry out, shrink, and tear. Leave enough water in the pool to keep everything in place.
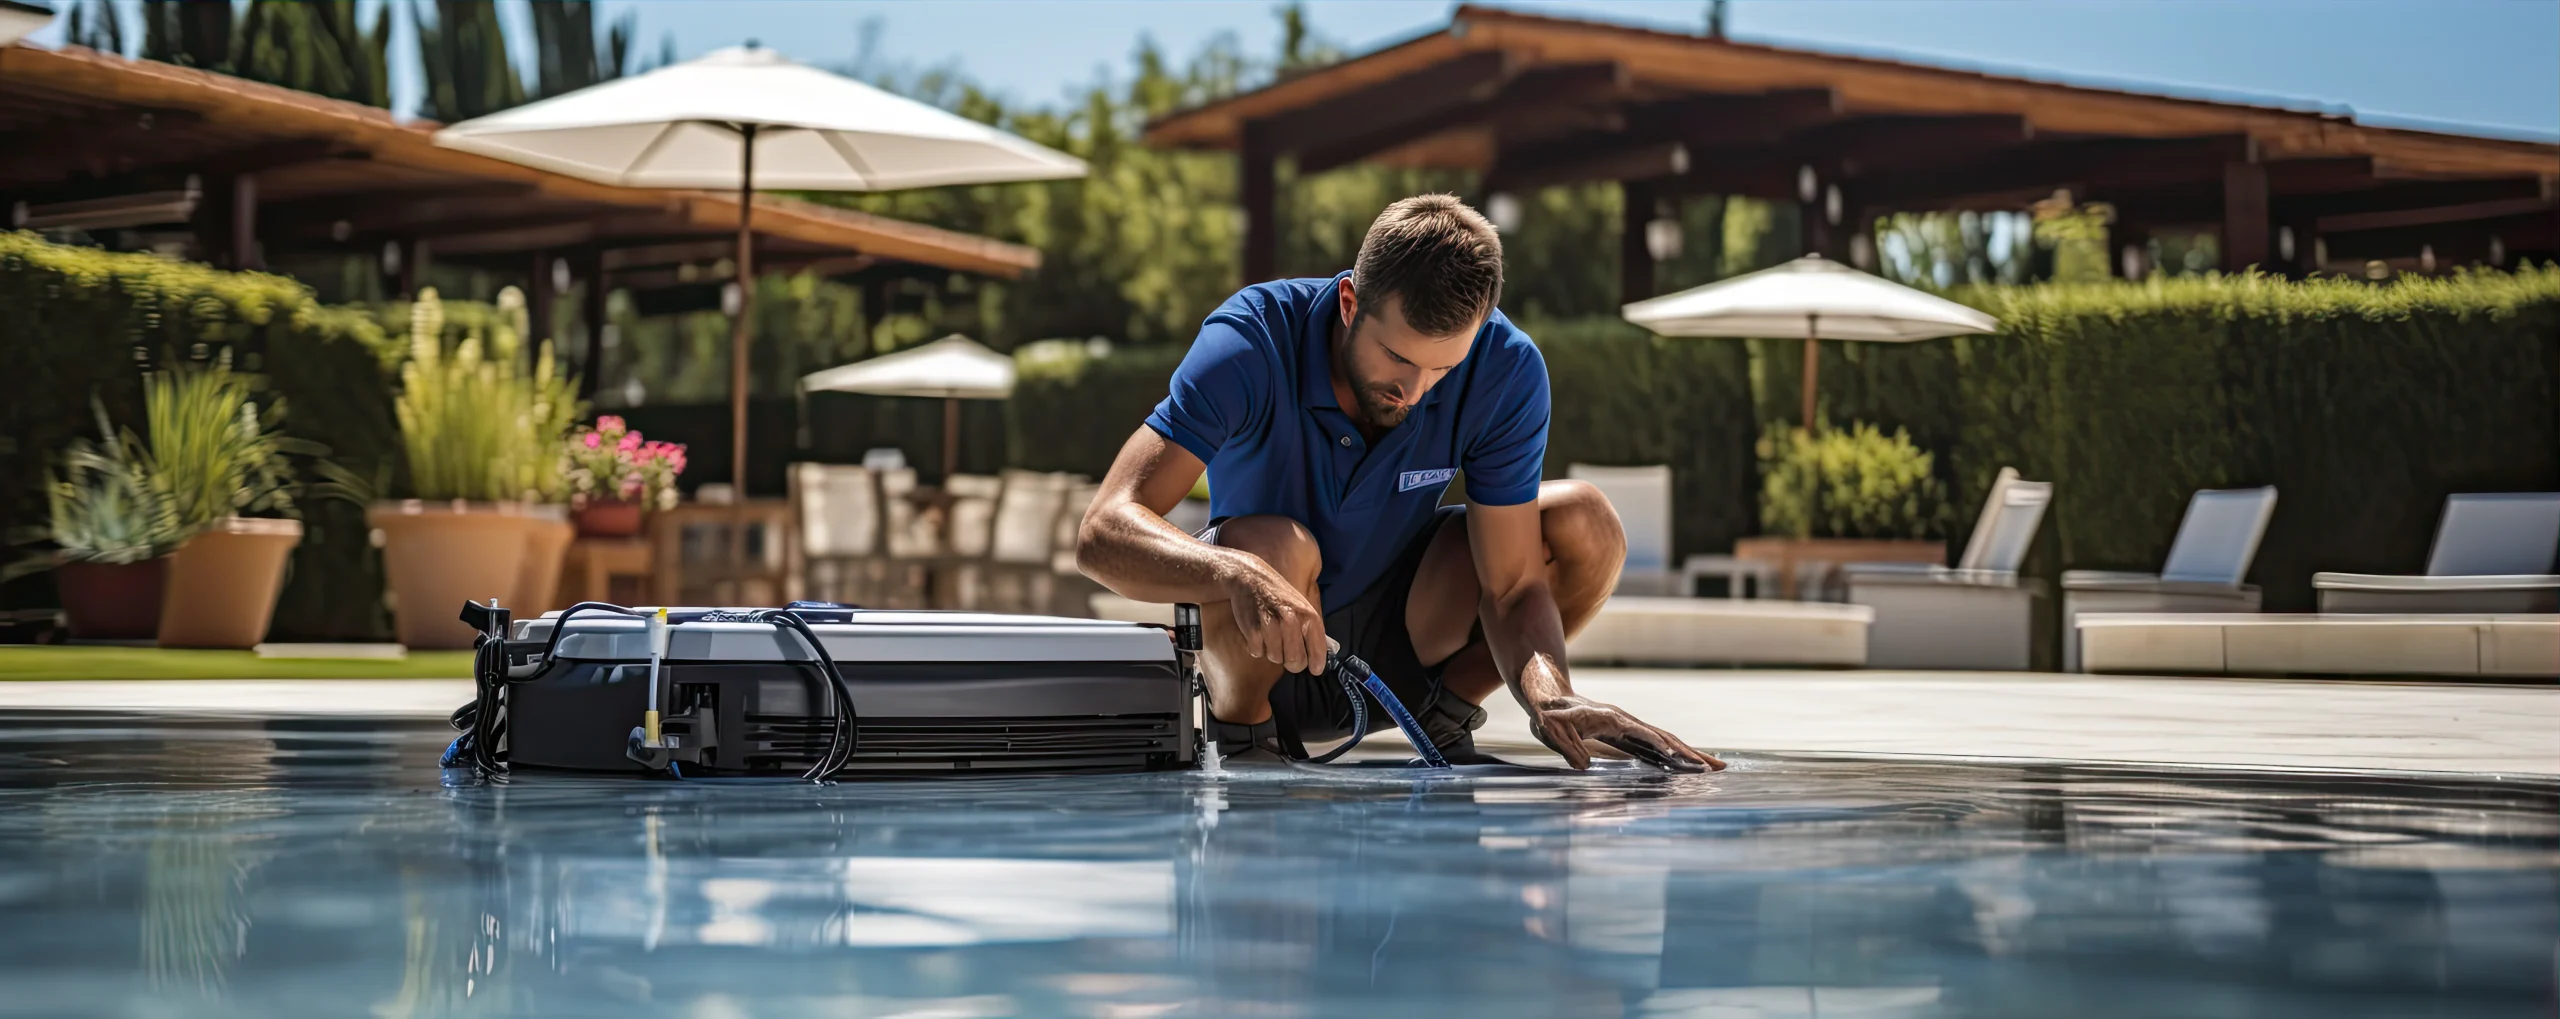
Now comes the equipment. This is where above-ground pools differ most from inground pools. Your pump, filter, and all connecting hoses need to come off the pool entirely and go somewhere that won’t freeze — a basement, a garage, anywhere with stable temperature. They cannot survive a Long Island winter outdoors. Disconnect the hoses from the skimmer fitting and the return fitting, drain everything completely, and store it indoors. If you have an automatic cleaner, that comes out too.
Protect the skimmer opening with a freeze plug or a skimmer gizzmo — a threaded plug that goes into the skimmer throat and compresses slightly as ice forms, relieving the pressure that would otherwise crack the skimmer body. It’s a small step that prevents one of the most common and annoying winter repairs.
Before the cover goes on, inflate an air pillow and secure it in the center of the pool. The air pillow does a few things: it relieves the lateral pressure of expanding ice against the pool walls, it supports the cover so it doesn’t sag into the water under the weight of snow or rain, and it makes spring cover removal easier. It’s not optional on Long Island and in Queens County, where January lows regularly drop into the mid-to-upper 20s and polar vortex events can push temperatures into the single digits.
Finally, install your winter cover and secure it with a cable-and-winch system running under the top rail of the pool. The cover should be tight, not draped loosely. A loose cover catches wind, shifts, and lets debris in. One thing to avoid: don’t anchor the cable to the skimmer box. That puts stress on a component that’s already vulnerable to winter pressure.
Closing a Saltwater Above-Ground Pool: The Extra Step Most People Miss
If your above-ground pool runs on a salt chlorine generator, there’s one additional step that doesn’t apply to traditionally chlorinated pools — and skipping it is an expensive mistake.
The salt cell itself needs to come out before winter. Salt cells are damaged by freezing temperatures. The internal plates that generate chlorine are not designed to survive a Long Island winter in place, and replacing a damaged cell typically runs between $200 and $700 or more depending on the unit. It takes about five minutes to remove, clean, and store the cell indoors. That’s a straightforward trade-off.
Beyond the cell, saltwater pool chemistry at closing needs a little extra attention. Salt chlorine generators naturally push pH upward over time, so your water may be trending more alkaline than a traditionally chlorinated pool. Check and adjust pH carefully before you close — water that’s too alkaline over a long winter can cause scaling on your liner and equipment surfaces that’s difficult to remove in spring.
The rest of the closing process follows the same steps as any above-ground pool. But if you’ve been following a generic closing checklist that doesn’t mention the salt cell, you’ve been leaving a vulnerable component exposed all winter without knowing it. It’s one of the most common gaps we see, and it’s entirely avoidable.
When to Close Your Above-Ground Pool on Long Island and Queens County
Timing matters more than most pool owners realize, and the mistake goes in both directions. The right trigger for closing is when your water temperature consistently stays below 60°F — not the calendar date, not when the kids go back to school. Water above 60°F is warm enough to encourage algae growth under a closed cover, which means closing too early trades one problem for another.
On Long Island and in Queens County, water temperatures typically drop into that range in mid-to-late September, with some variation depending on how much sun exposure your pool gets. That puts the ideal closing window between mid-September and mid-October for most above-ground pool owners in the area.
Why Long Island and Queens County Pool Owners Need to Book Early
Here’s the practical reality: pool closing companies on Long Island and in Queens County fill up fast in September and October. This isn’t a soft warning — it’s a scheduling fact that catches homeowners off guard every year. If you wait until the last week of October to call, you may find that your preferred service provider is fully booked, leaving you to either rush through a DIY closing or use whoever happens to be available.
Long Island and Queens County have a high concentration of above-ground pool owners, particularly in eastern Queens neighborhoods and western Nassau County where yard sizes favor above-ground installations over inground ones. That’s a lot of pools that all need to be closed within the same six-to-eight-week window. Demand is real and the schedule fills up.
The smarter move is to schedule your closing by early October at the latest. That gives you flexibility on the exact date, lets you pick the service provider you actually want, and ensures your pool gets closed before any early cold snap catches you unprepared. Long Island’s first hard freeze typically arrives in late October to early November — but weather on the Island is unpredictable, and a single overnight freeze with water still in your plumbing is all it takes to cause serious damage.
If you’re in Queens or Nassau County and you’ve been putting off the call because you think you have more time, the honest answer is: you probably have less than you think. The closing window is short, the schedule fills from the top, and the cost of getting caught out — burst pipes, a cracked skimmer, a destroyed pump — runs anywhere from $350 to over $5,000 depending on what fails. A professional closing for an above-ground pool typically costs $200 to $400. That math isn’t complicated.
Should You Close Your Above-Ground Pool Yourself or Hire a Professional?
This is the question most above-ground pool owners are actually asking when they search for a closing checklist. And the honest answer is: it depends on your pool, your equipment, and how confident you are in the process.
If you have a straightforward above-ground pool with a basic pump-and-filter setup, no heater, and no salt system, a careful DIY closing is achievable if you follow the steps correctly and have the right tools — including a proper air compressor for blowing out the lines. Not a shop vac, not a leaf blower. A high-volume, low-pressure air blower that can fully clear water from the plumbing without damaging the fittings.
Where DIY closing tends to go wrong is in the details. The air pillow gets skipped. The skimmer doesn’t get plugged. The pump gets left outside. The water level gets dropped too far. None of these feel like big omissions in October. All of them can result in real damage by March.
If your pool has a heater, the stakes go up considerably. A heater’s heat exchanger must be fully drained before winter — not just turned off. Water left inside a heat exchanger will freeze, and a cracked heat exchanger can cost $500 to $1,500 or more to replace. Proper heater winterization requires knowing exactly how to drain every internal component, which isn’t something most homeowners have done before.
The other factor worth considering is accountability. When something goes wrong with a DIY closing — and it does go wrong, even for careful homeowners — there’s no documentation of what was done and no professional standing behind the work. When we close a pool, we provide written documentation of every step completed. If a question comes up in spring, there’s a clear record.
We’ve been building and servicing pools on Long Island since 2009. We’re based in Huntington Station, we hold full licensing and insurance for Nassau and Suffolk Counties, and we serve Queens County as well. A lot of the pools we close are pools we built — which means we already know the plumbing layout, the equipment configuration, and the specific details of how that pool was constructed. That’s a different level of familiarity than a service company seeing a pool for the first time.
Close Your Above-Ground Pool the Right Way This Season
A properly closed above-ground pool opens faster, cleaner, and with far fewer surprises in spring. The steps aren’t complicated, but they have to be done completely and in the right order — and on Long Island and in Queens County, where winters are real and the closing window is short, there’s not much margin for missing something.
Whether you’re planning to close the pool yourself using this checklist or you’d rather hand it off to someone who’s done it hundreds of times, the most important thing is that it gets done right before the first hard freeze arrives.
If you have questions about your specific pool — the equipment, the timing, or whether your setup has anything that needs special attention — JAS Aquatics is here to help. Reach out and we’ll walk you through it.
Questions about your pool?
Tell us what you need and a JAS Aquatics pool pro on Long Island will get back to you. Prefer to talk now? Call 631-239-8031.