Summary:
You’ve made it through another Long Island winter, and your pool is still sitting under that cover. The weather’s warming up, Memorial Day weekend is approaching, and you’re ready to get things going. But here’s the thing—just tossing chemicals in the water and hoping for the best usually ends with cloudy water, wasted money, or equipment problems you didn’t see coming.
Getting your pool open the right way starts with knowing which chemicals actually matter, understanding the order they need to go in, and having a clear plan that works with Nassau County, NY spring conditions. Let’s walk through what you need to know to get your pool swim-ready without the guesswork or multiple trips to the store.
Pool Startup Chemicals: What You Actually Need for Opening
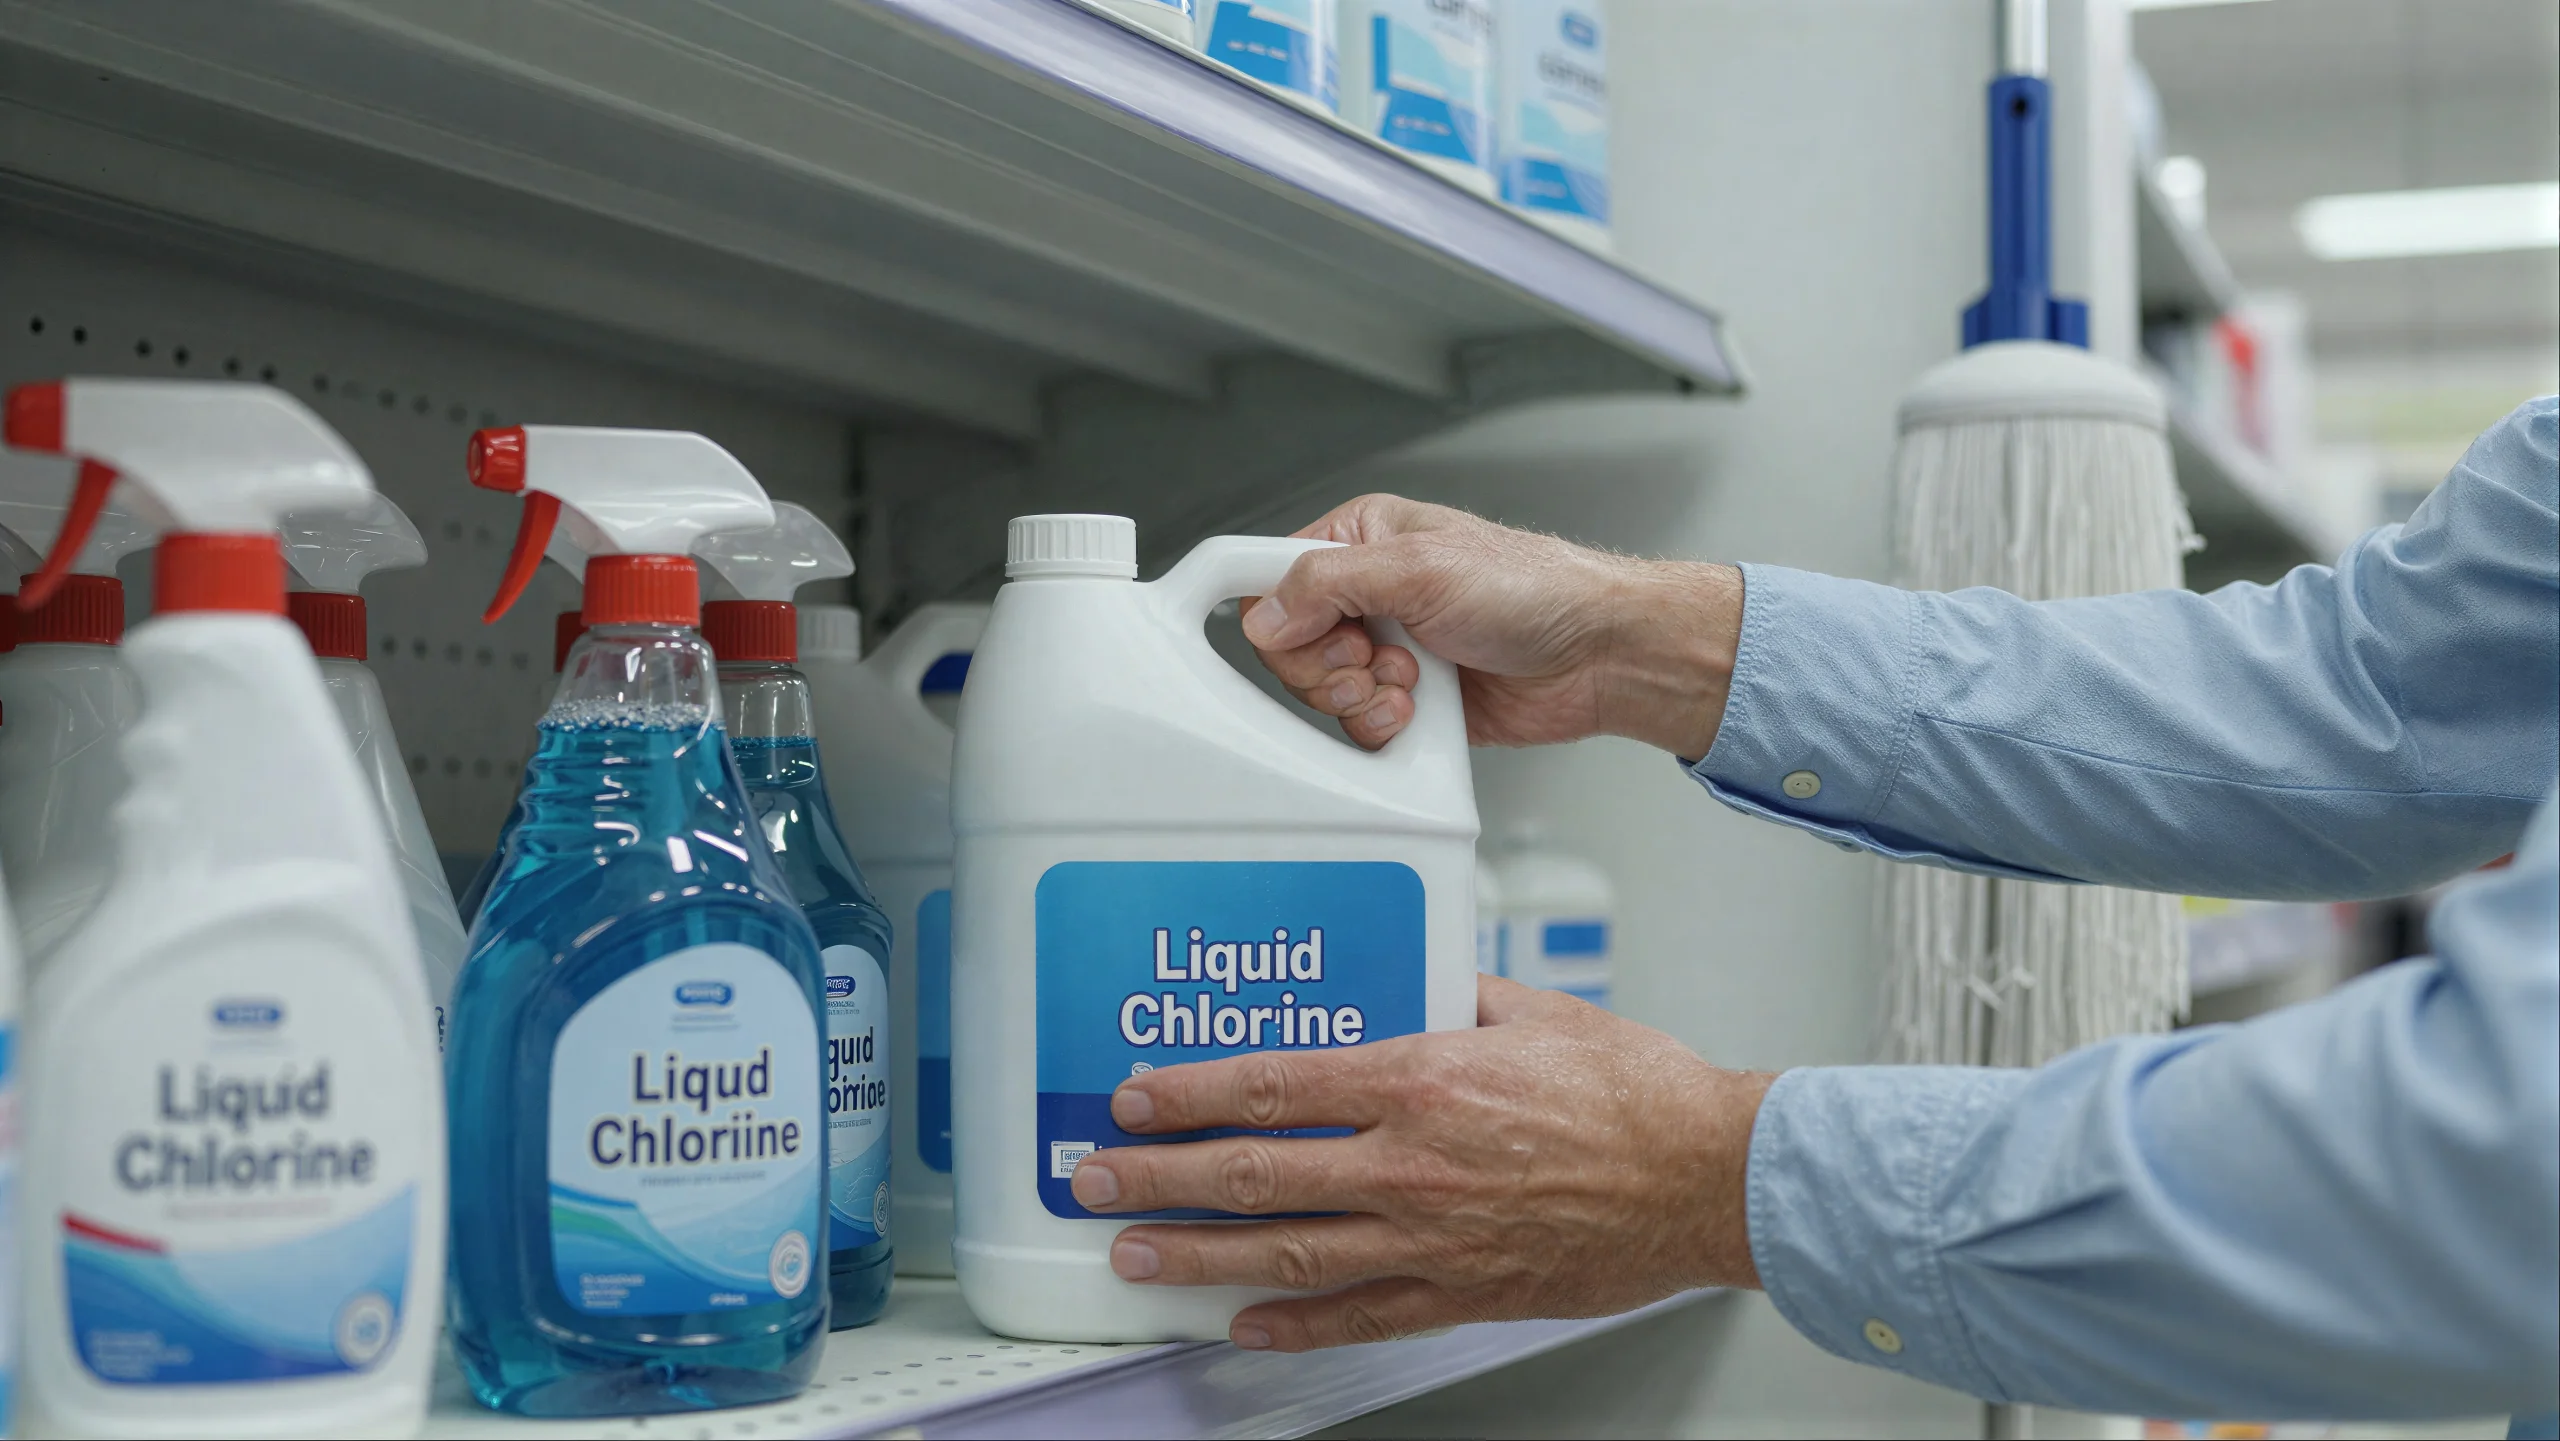
Walk into our Nassau County, NY store during spring and you’ll see dozens of products claiming to be essential for opening. The truth is simpler. Most pools need the same core chemicals to get started: a reliable test kit, pH adjusters, alkalinity increaser, calcium hardness increaser if needed, pool shock, and a consistent sanitizer like chlorine tablets.
You might also need cyanuric acid if you’re using unstabilized chlorine or running a saltwater system. Algaecide and clarifier can help in certain situations, but they’re not always necessary if you’re balancing and shocking properly. The key is starting with what your water actually needs based on testing, not what a pre-packaged kit assumes you need.
Save yourself the confusion. Focus on the essentials first, then add specialty products only if your specific pool conditions call for them.
Why Water Testing and Balance Come Before Everything Else
Here’s where most pool owners in Nassau County, NY get it wrong. They shock first and balance later. That’s backwards, and it costs you.
When you shock unbalanced water, you’re setting yourself up for staining, scaling, and wasted chlorine. Minerals and metals in the water can react during shocking and deposit on your pool surfaces. If your pH is off, your shock won’t work as efficiently as it should. Lower pH levels actually make chlorine more powerful, so you can use less and get better results. That’s not just chemistry—that’s money staying in your wallet.
Start by testing your water for pH, total alkalinity, and calcium hardness. Use a quality test kit, not cheap strips that give you questionable readings. Your total alkalinity should land between 80 and 120 parts per million. Get that dialed in first because it acts as a buffer for your pH. Once alkalinity is stable, adjust your pH to the 7.2 to 7.6 range. Slightly lower in that range is better for shocking.
If your calcium hardness is below 180 ppm, you’ll want to bring it up to protect your pool surfaces and equipment from corrosion. This is especially important if you have a plaster or concrete pool. Soft water can cause etching and damage over time. For vinyl and fiberglass pools, keep calcium between 175 and 225 ppm.
Give each adjustment time to circulate. At least 30 minutes between additions with your pump running. Then retest before moving to the next step. Rushing this part means you’ll be fixing problems all season instead of swimming.
The Exact Order for Adding Pool Opening Chemicals
Order matters more than most people realize. Add chemicals in the wrong sequence and they can interfere with each other, cancel out, or become completely ineffective. You’ll waste product and time.
After you’ve balanced your water chemistry, add any stain and scale preventer if your water has metals or minerals. This is common in Nassau County, NY well water and can save your pool surfaces from permanent damage. Let that circulate for a few hours. If you’re using a clarifier to help your filter work more efficiently, add it after the stain preventer and before you shock. These products need time to work before chlorine hits the water. Shock destroys them, so timing is everything.
Now you can shock your pool. How much depends on what you’re dealing with. For clear but stagnant water, one pound of cal-hypo shock per 10,000 gallons is usually enough. If your water has a greenish tint, double or triple that amount. Dark green water might need four times the standard dose. Don’t be shy with shock during opening. Hit it hard the first time and you might not need to repeat the treatment.
Add shock at dusk or after sunset. Sunlight breaks down chlorine quickly, so you’ll get better results when the sun isn’t overhead. Let your pump and filter run overnight, ideally for 12 to 24 hours straight. Test your chlorine level the next day. If it’s dropped to zero, shock again with a higher dose. When chlorine stays measurable for over 24 hours, you’ve successfully oxidized the water.
Wait until your chlorine level drops below 3 ppm before adding algaecide. Shock destroys algaecide’s polymer chains, so adding them together wastes your money. If you’re using cyanuric acid as a stabilizer, add it after shocking. It protects your chlorine from UV rays and makes it last five times longer. Aim for 30 to 50 ppm for most pools. This is especially important as we head into Long Island’s sunny summer months.
Pool Opening Checklist: Steps Before Chemicals Hit the Water
Chemicals won’t fix everything if your equipment isn’t ready. Before you add anything to the water, you need to make sure your pool and its systems are actually prepared to handle the season ahead.
Start by cleaning off your pool deck and the area around your pool. Months of dirt, leaves, and debris have built up over the winter, and you don’t want that washing into your water once the cover comes off. Clean your pool cover carefully before removing it. Use a leaf rake for debris and pump off any standing water. If you just yank the cover off, all that contamination ends up in your pool, doubling your workload and making water chemistry harder to manage.
Inspect your cover for damage while you’re at it. Tears or weak spots mean you might need a replacement before next winter. Clean it thoroughly and store it properly so it’s ready when you need it again. Vinyl covers should be stored in water with algaecide added. Safety covers should be stored dry and away from mice.
Pool Equipment Inspection: Catching Winter Damage Early
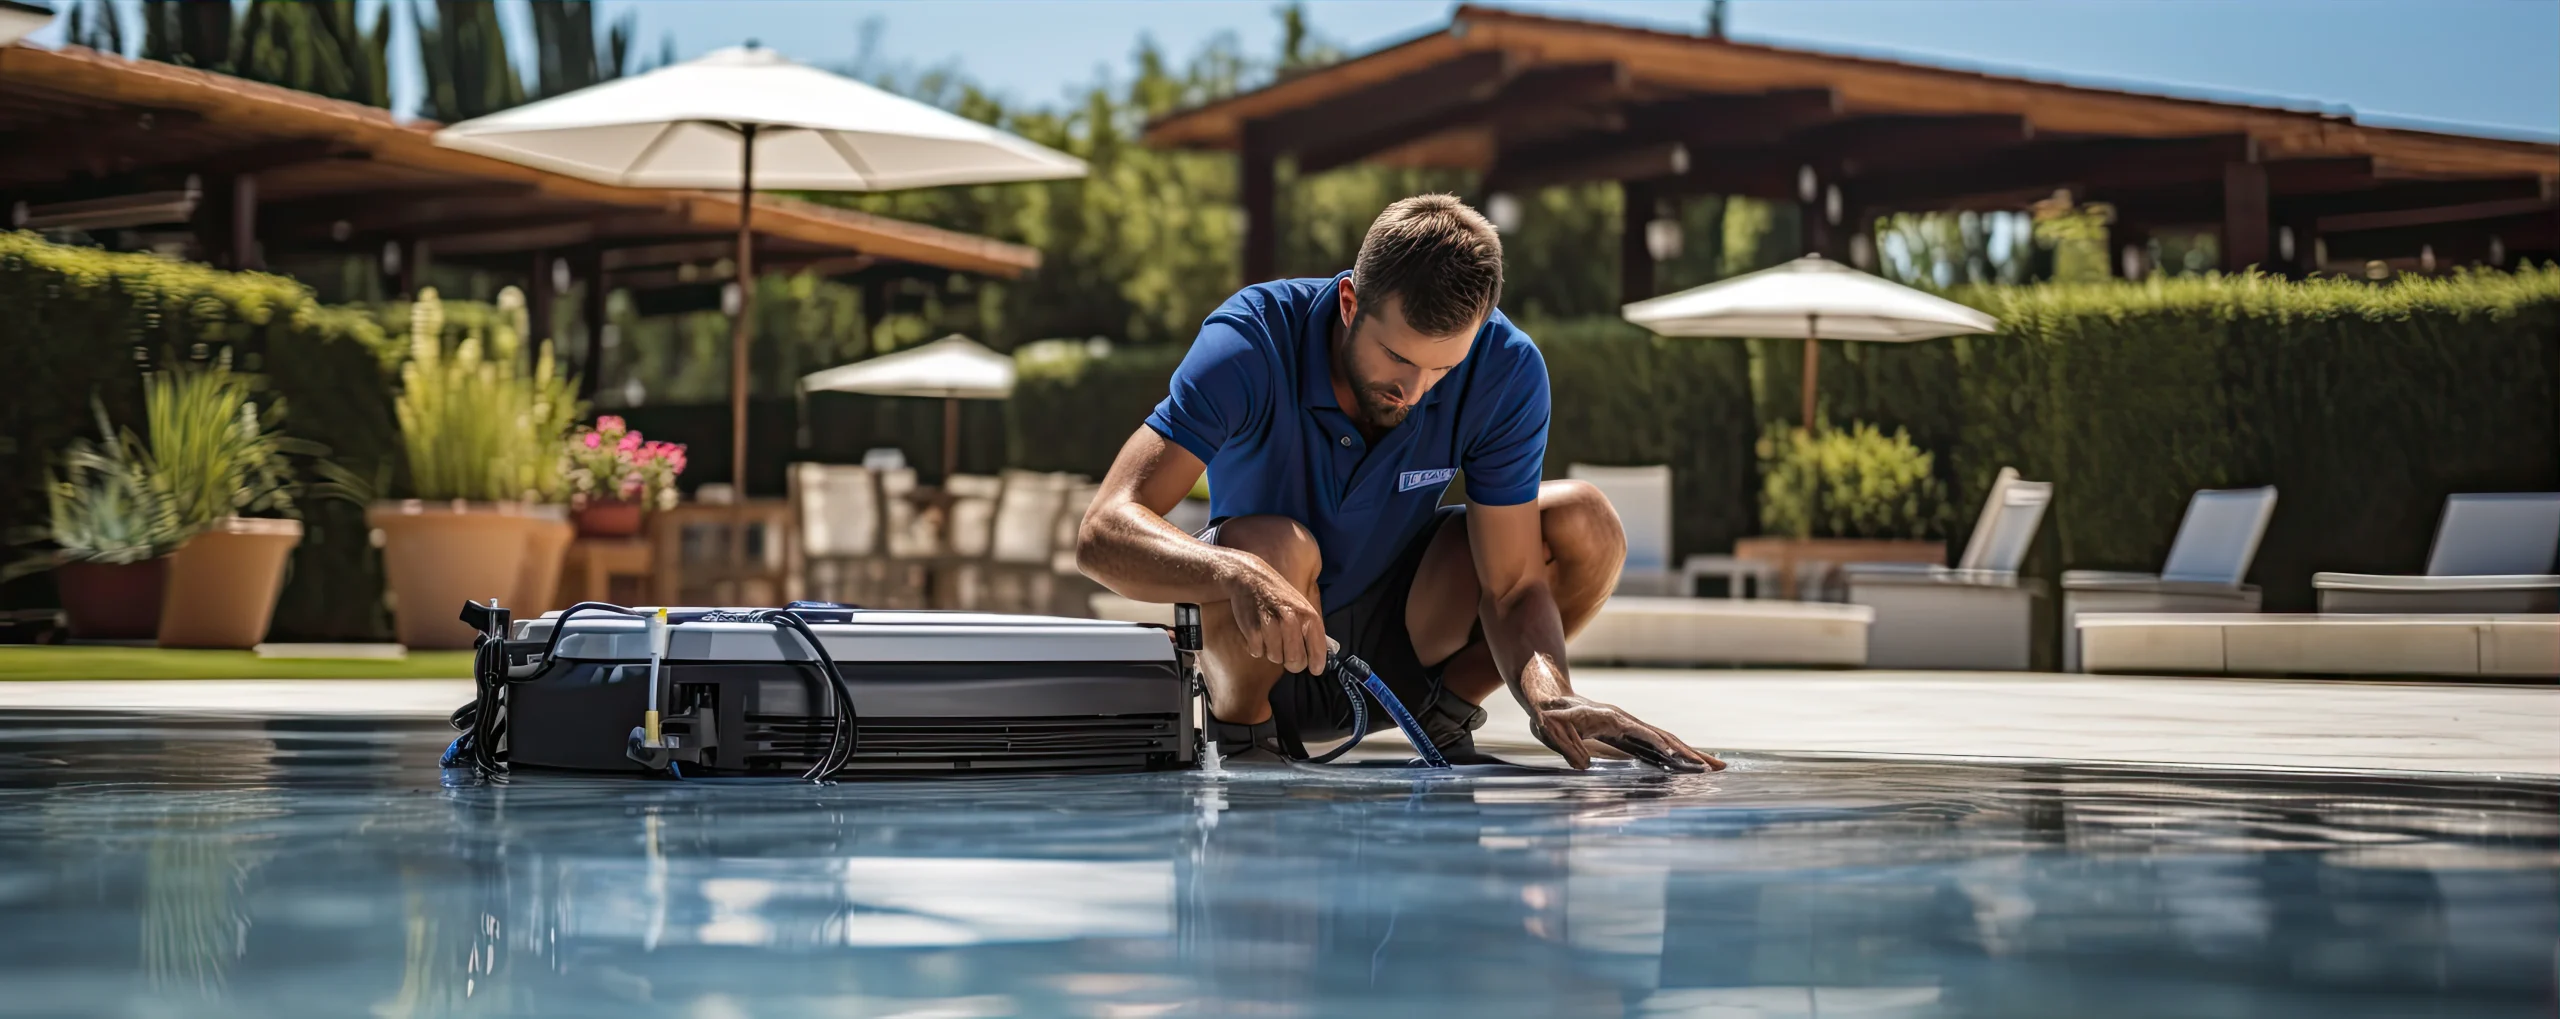
Long Island winters are tough on pool equipment. Freezing temperatures, moisture, and months of sitting idle can cause problems that aren’t obvious until you try to start everything up. Catching these issues during your spring pool maintenance saves you from mid-season breakdowns.
Before you turn on your pump, inspect it for cracks, rust, or debris. Check the pump basket and make sure the locking tab is secure if your model has one. Replace any drain plugs you removed during winterization. Use fresh Teflon tape on threaded connections to prevent leaks. Don’t reuse old tape—it loses effectiveness and can cause air leaks.
Clean and lubricate the pump lid O-ring with silicone or Teflon lube. A dry or cracked O-ring won’t seal properly, and you’ll end up with air leaks or water spraying everywhere. This is one of the most common equipment issues pool owners in Nassau County, NY face during spring opening, and it’s completely preventable.
Look at your filter next. If you have a sand filter and haven’t changed the sand in five years, now’s the time. Sand loses its filtering ability over time. Cartridge filters should be inspected for cracks or tears. Replace them if they’re damaged. DE filters need fresh diatomaceous earth added after backwashing. Check your filter’s pressure gauge and drain plug to make sure they’re in place and functioning correctly.
Your heater needs attention too. Look for blockages, leaks, or corrosion before firing it up. Inspect plumbing lines and valves for cracks or loose connections. Winter freeze-thaw cycles can damage pipes, especially if winterization wasn’t done correctly. Cracked pipes from freezing, damaged pump seals, and clogged filters are common winter-related problems that delay pool opening and create unexpected repair costs.
Make sure all your valves are open before starting the pump. A closed valve can damage your system or cause the filter lid to blow off under pressure. Prime your pump if necessary by filling it with water before turning it on. Once everything’s running, check for unusual sounds, vibrations, or leaks. Address any problems before moving forward with chemicals. Your equipment has to work properly for chemicals to do their job.
Spring Pool Maintenance: Cleaning and Preparation Steps
Even with a cover, your pool has collected debris over the winter. Leaves, dirt, pollen, and organic matter need to be removed before you start balancing chemicals. A dirty pool means your chemicals work harder and less efficiently.
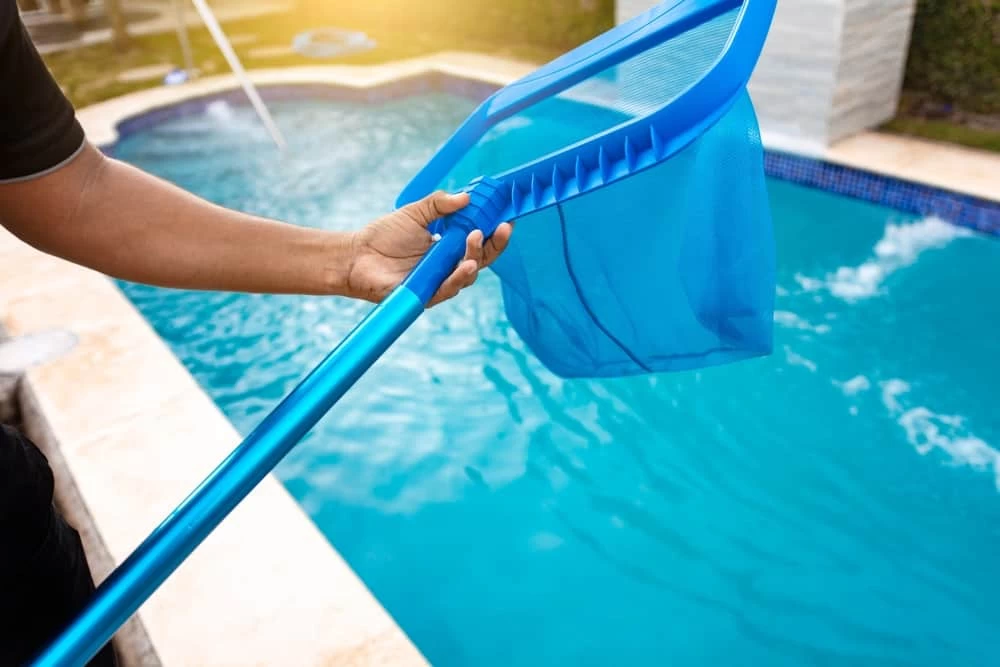
Skim the surface thoroughly. Get everything you can see. Brush the walls and floor to loosen any algae or buildup that’s clinging to the surface. Pay special attention to corners, steps, and areas where debris tends to collect. Vacuum the pool or run your automatic cleaner to get debris off the bottom. The cleaner your pool is before you add chemicals, the less work those chemicals have to do, and the faster you’ll get to clear water.
Check your skimmer baskets and pump basket. Empty them completely. A clogged basket restricts water flow and makes your pump work harder than it should, wasting energy and reducing filtration efficiency. If your pool water level dropped over the winter, top it off before you start your equipment. Water should be at the midpoint of your skimmer opening for proper circulation and filtration.
Backwash or clean your filter if needed. A dirty filter from last season won’t be effective at clearing your water this season. Starting with a clean filter means better circulation and faster results when you add your startup chemicals. For cartridge filters, a thorough cleaning or replacement makes a noticeable difference in water clarity.
Don’t rush this cleaning phase. It’s tempting to skip ahead, especially when you’re eager to get swimming. But taking an extra hour or two now saves days of chemical adjustments and cloudy water later. Once your pool is clean, your equipment is running smoothly, and your water is topped off, you’re ready to test and start adding chemicals in the right order. This is your pool opening checklist foundation—everything else builds on this.
Getting Your Nassau County, NY Pool Ready for Swimming Season
Opening your pool doesn’t have to be complicated, but it does require the right approach. Test first, balance your water chemistry, add chemicals in the proper sequence, and give each step time to work. Inspect your equipment before you start it up, and don’t skip the cleaning phase just to save time.
The difference between a smooth opening and a frustrating one usually comes down to preparation and patience. When you understand what your pool actually needs and follow a clear process, you’ll have swim-ready water in days instead of weeks. You’ll also avoid the costly mistakes that send pool owners back to the store multiple times or leave them dealing with green water and equipment problems.
If you’re looking for quality pool startup chemicals, expert advice on your specific situation, or professional spring pool maintenance services in Nassau County, NY, we have the products and knowledge to help you get it right the first time.
Questions about your pool?
Tell us what you need and a JAS Aquatics pool pro on Long Island will get back to you. Prefer to talk now? Call 631-239-8031.